The following steps will take you through how to configure the SOLO integration for your account. Please note, you must set up SOLO forms before you can proceed with this step.
Part 1: Obtain your SOLO company id
- Login to SOLO
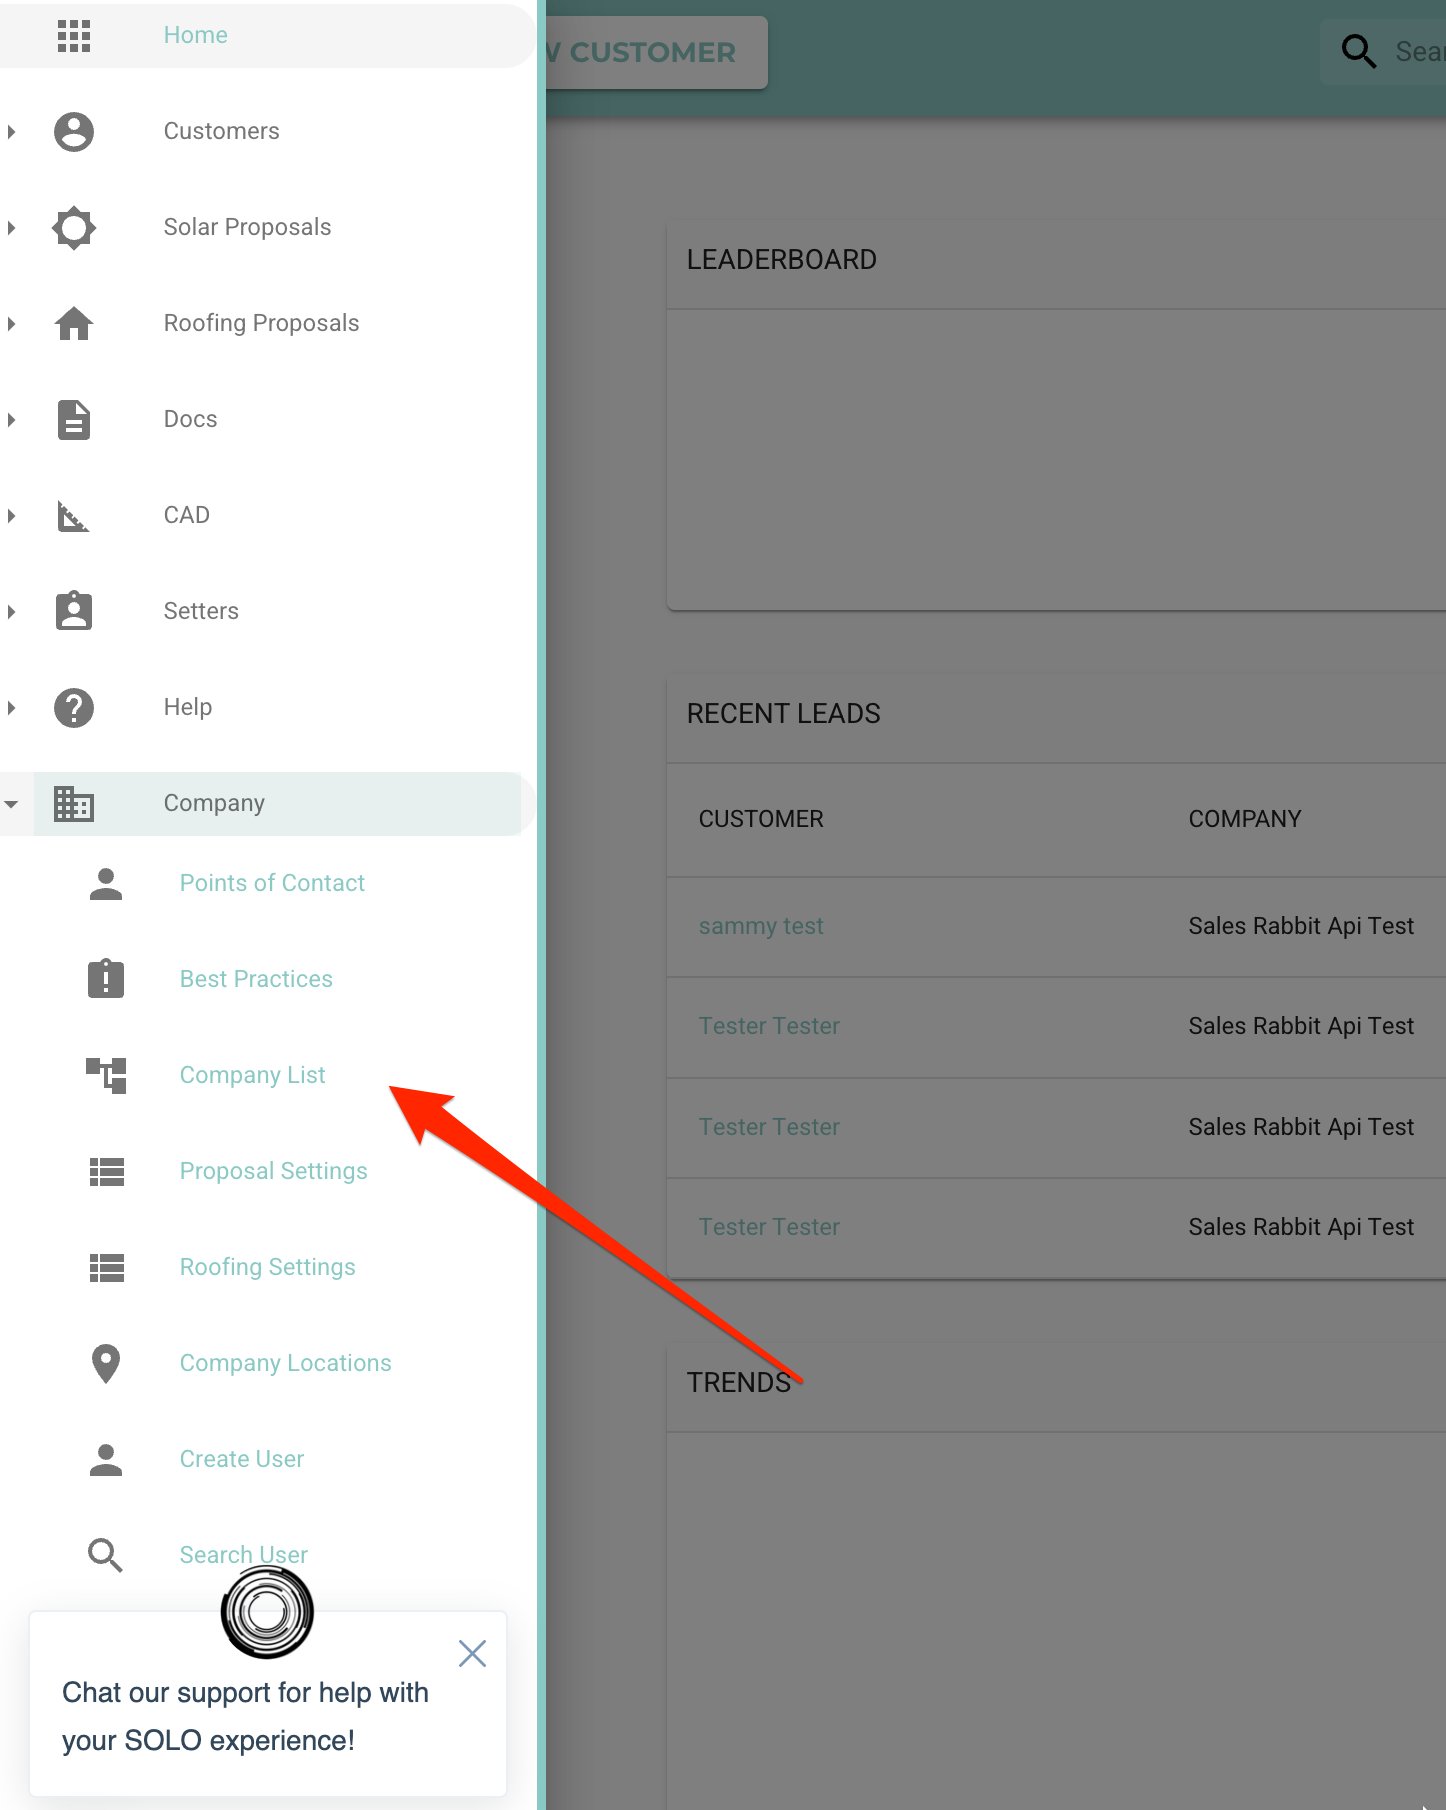
- Open the menu bar by clicking in the Top Left
- Select Company and Click Company List
- Look for your company name Under Companies
- Your SOLO Company ID will be listed in parentheses next to your company name.
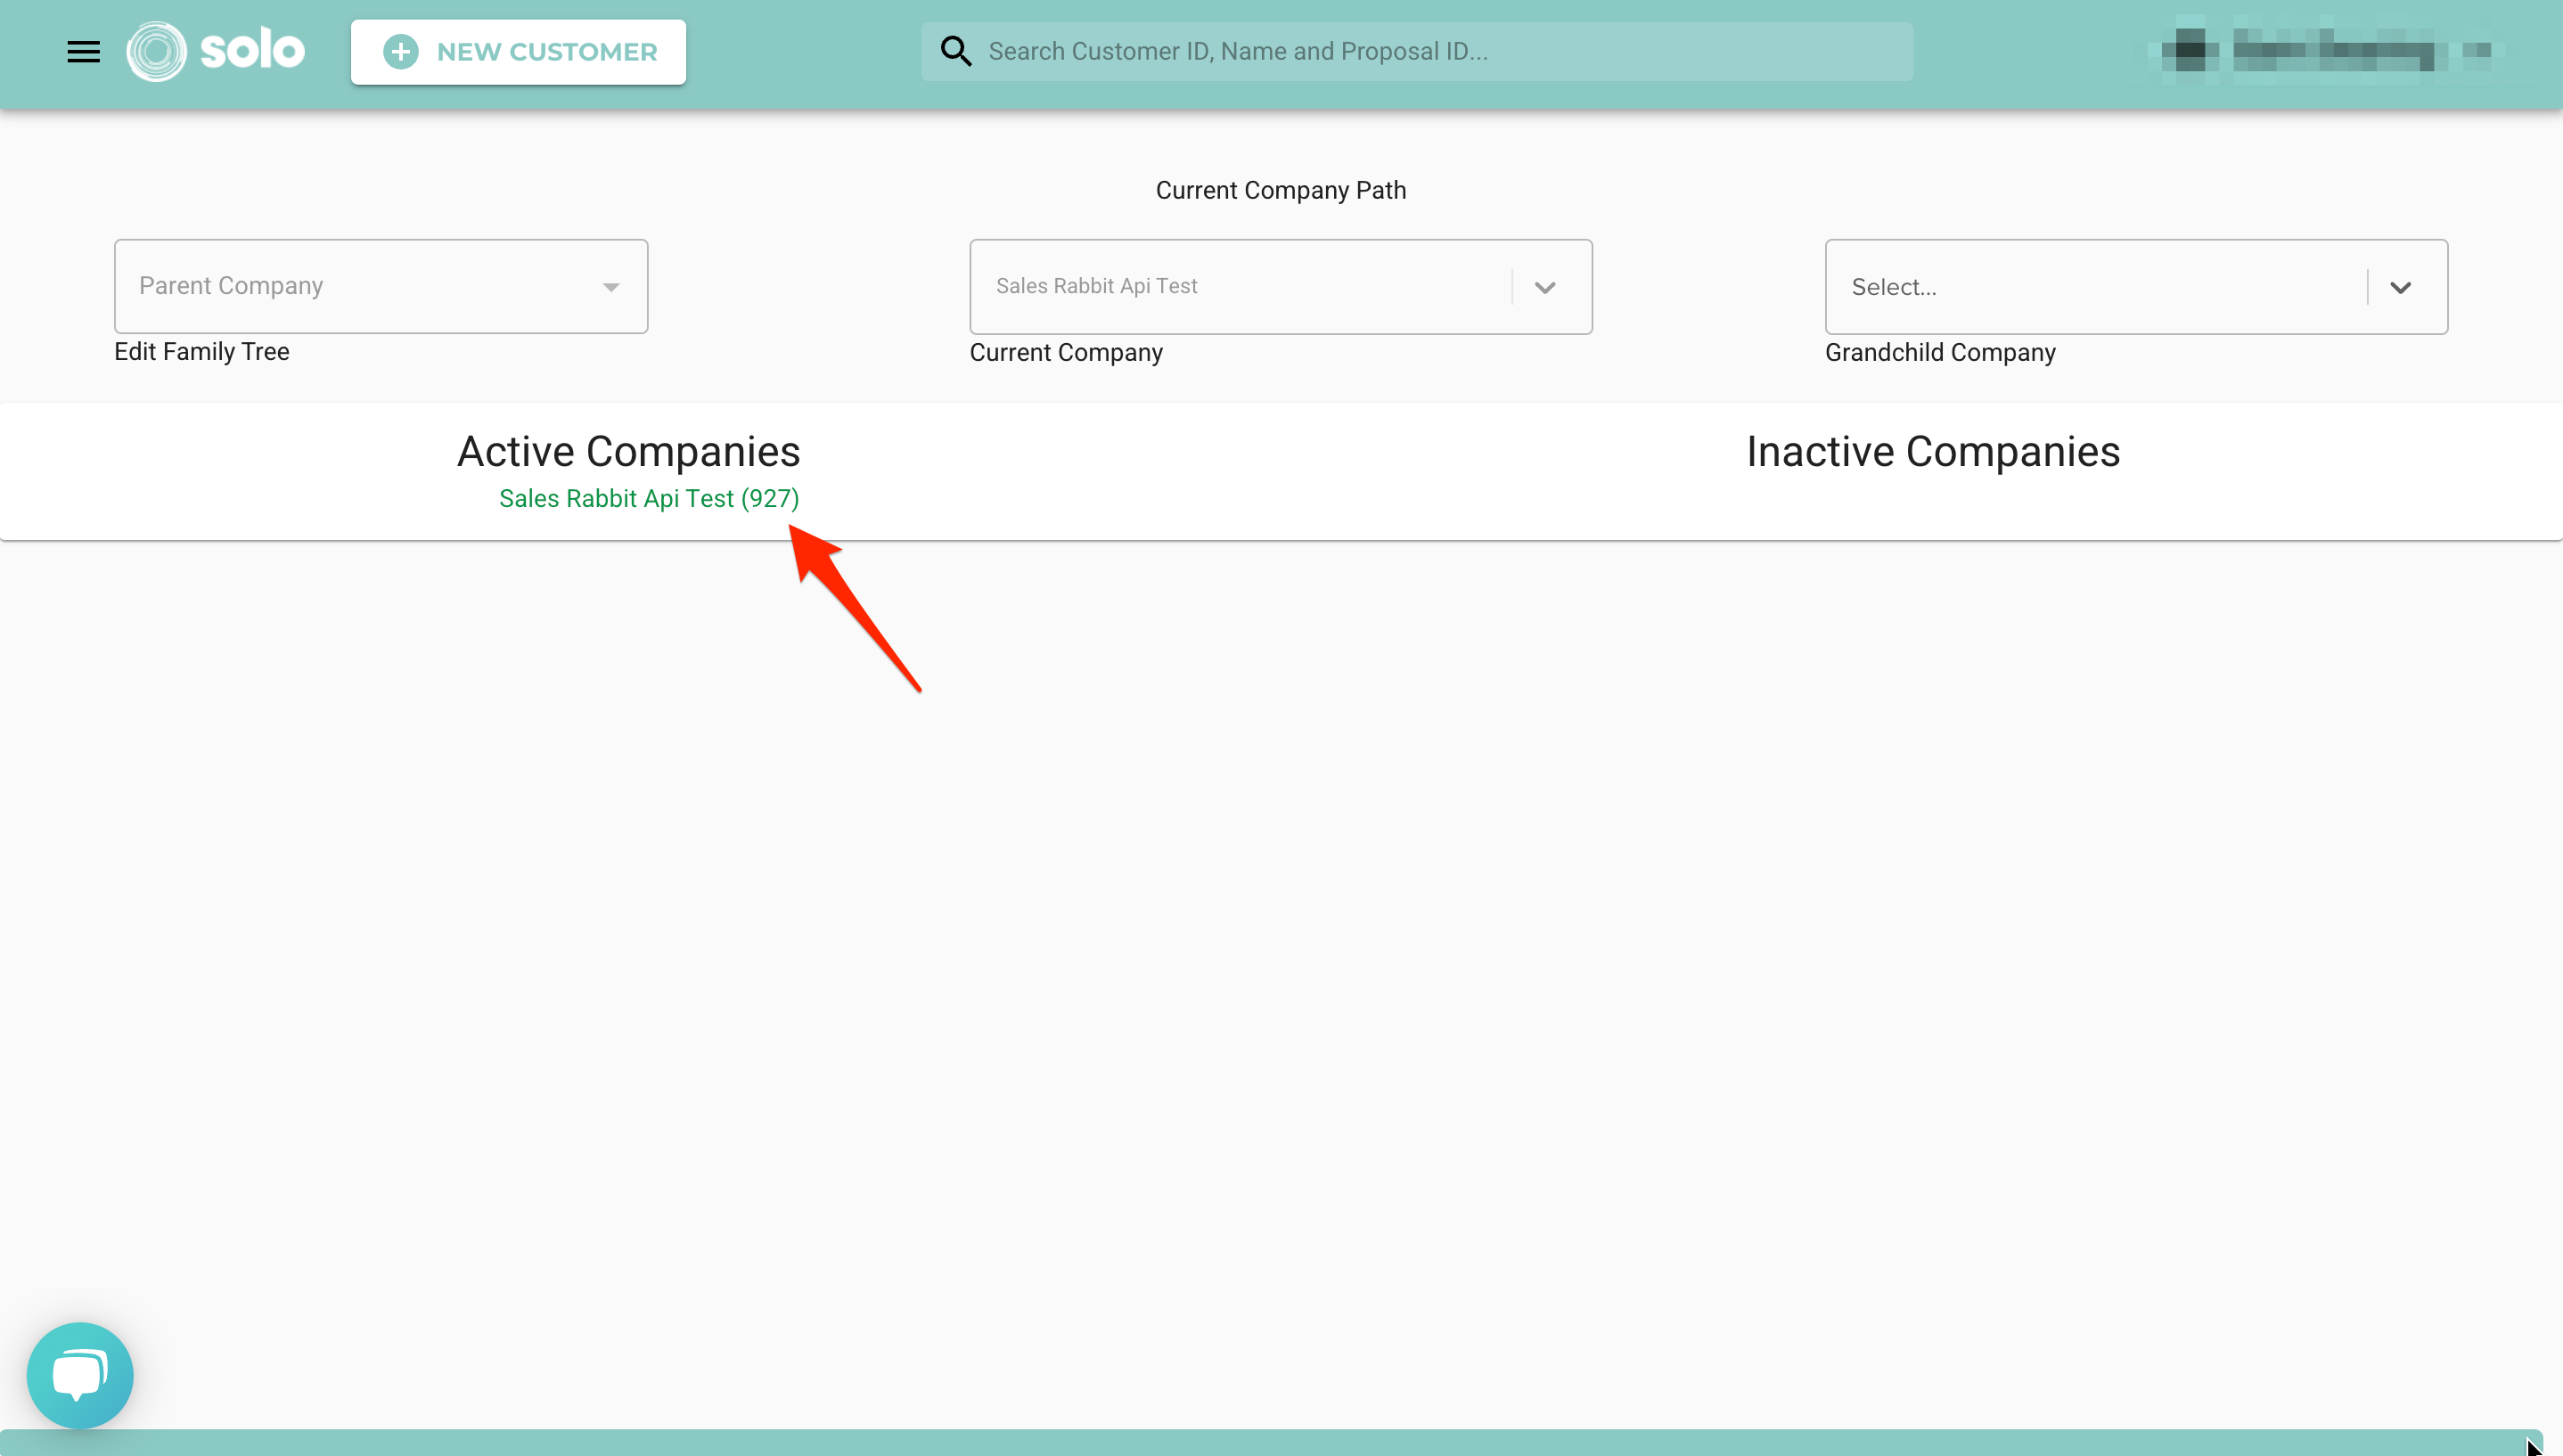
- Copy or write down your ID to use in the SalesRabbit configuration section below.
Part 2: Add the SalesRabbit integrator in SOLO.
- Access the integrators tab.
- In the 'Select Integrator' section, Search for "Sales Rabbit"
- Once selected, click 'ADD INTEGRATORS'
- If done correctly, you will see "Sales Rabbit" now listed on the integrators list
- If you need assistance adding the integrator key in st, you can send an email to: integrations@gosolo.io asking to be added to the SalesRabbit Integrator Key.
Part 3: Configure SOLO Integration in SalesRabbit
1. Navigate to the Marketplace under "Integrations". (Must have admin access)
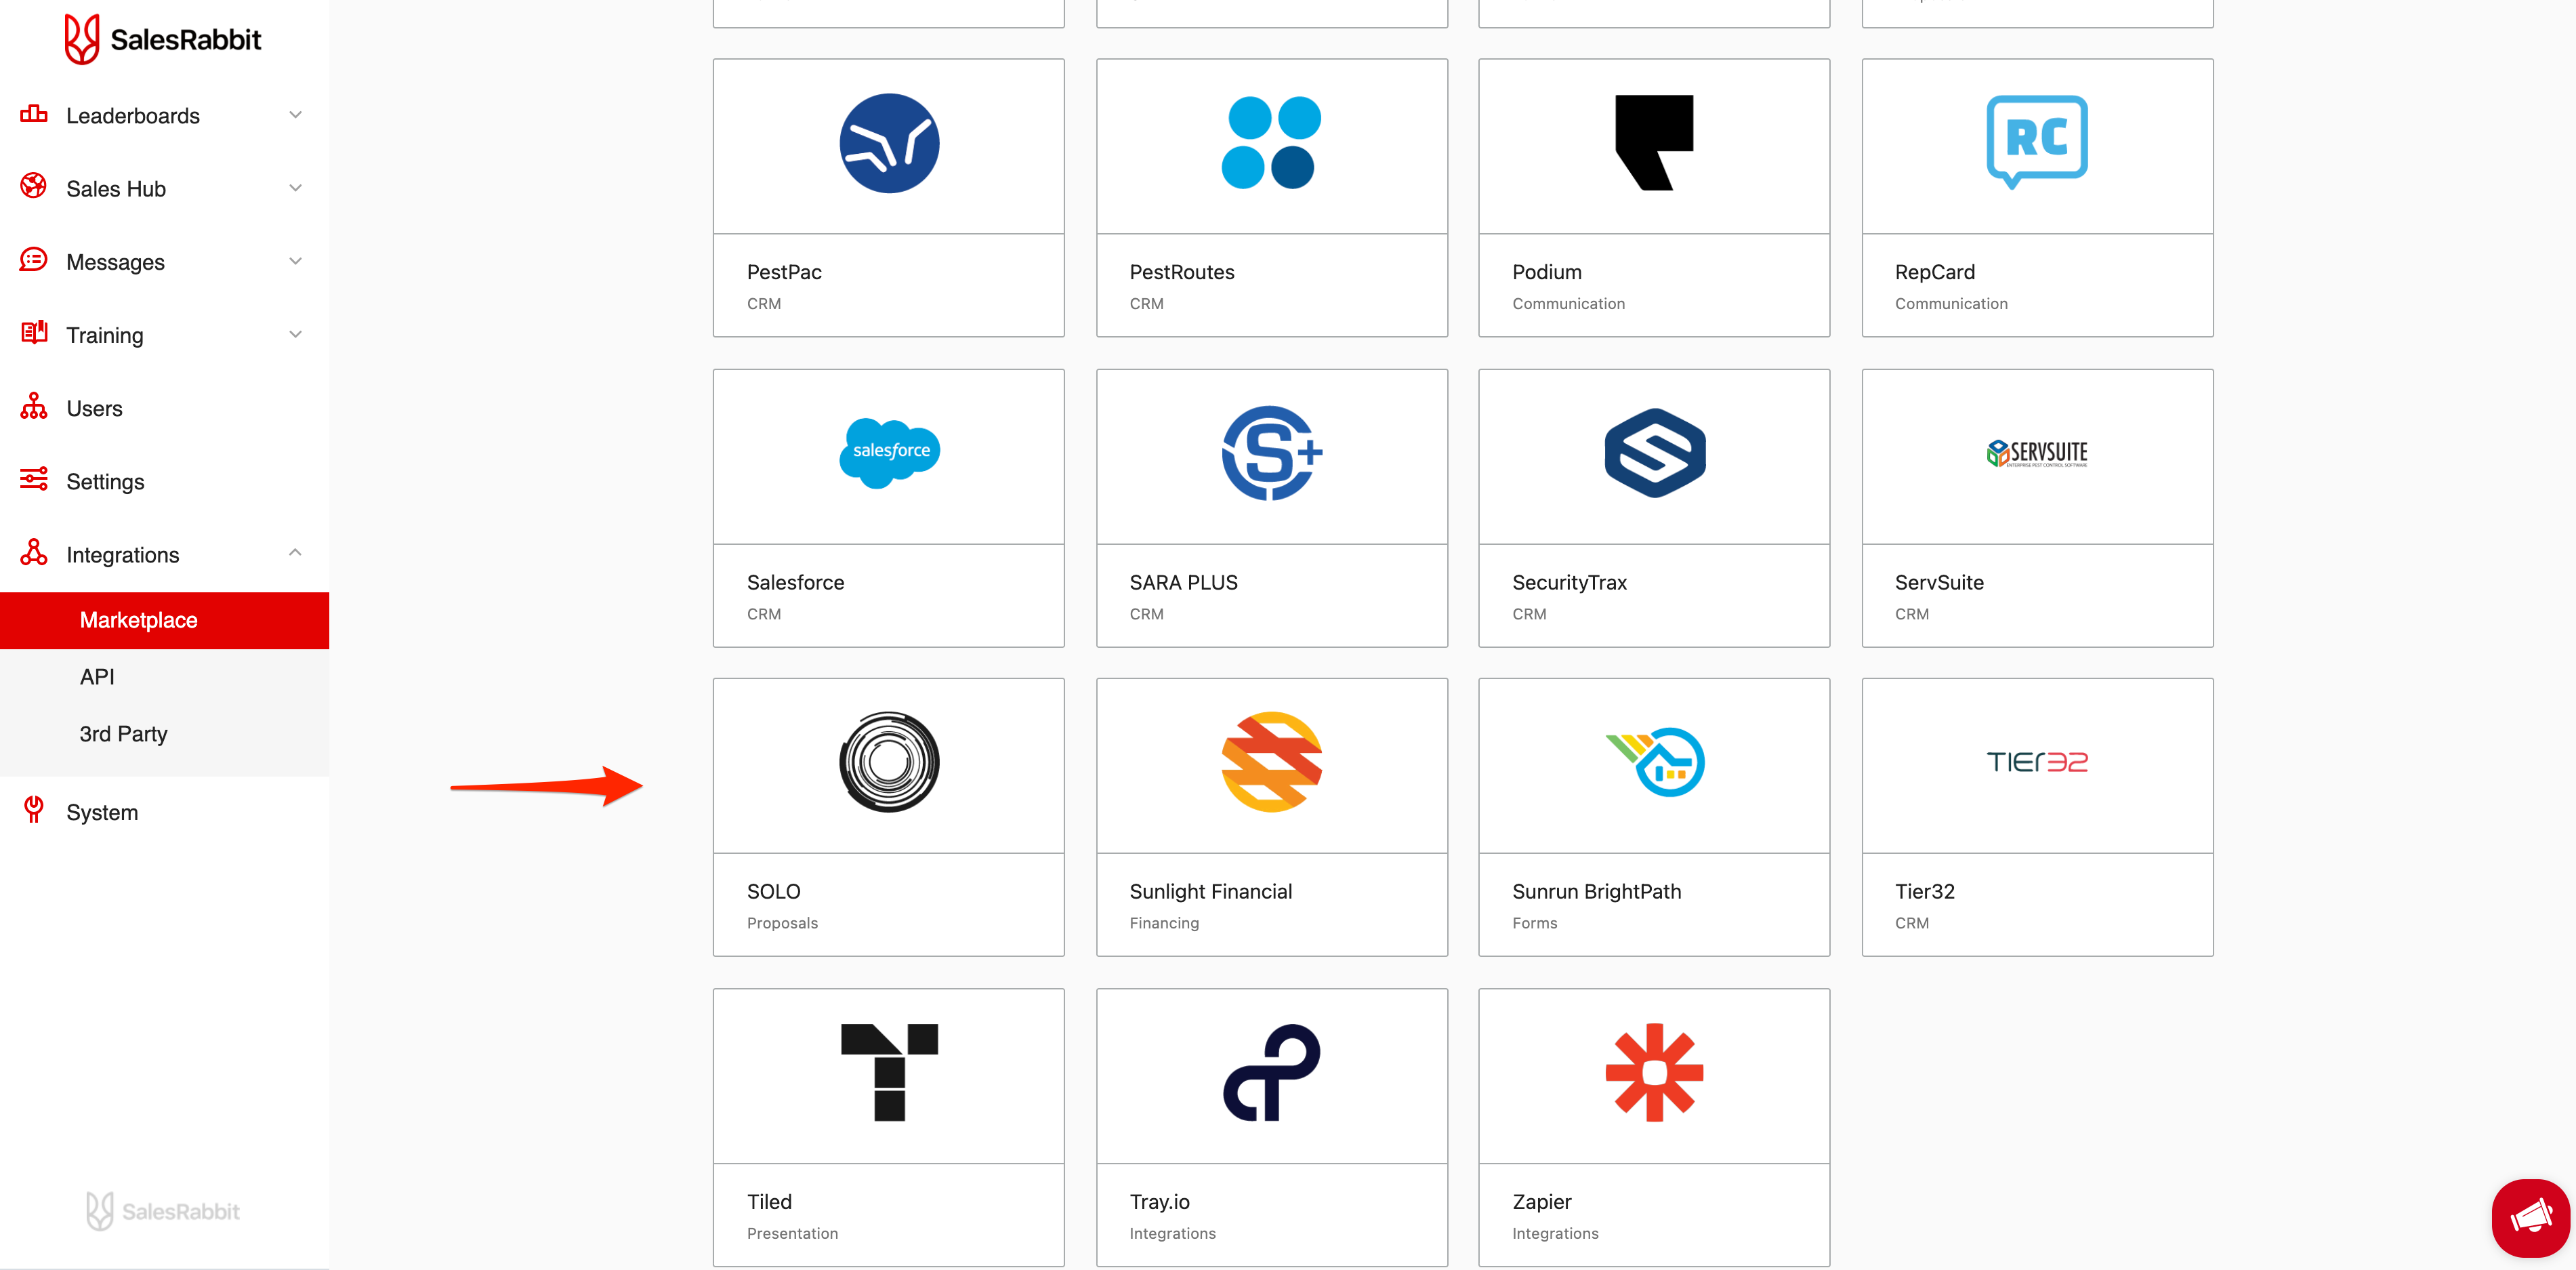
2. Select the SOLO Integration Card
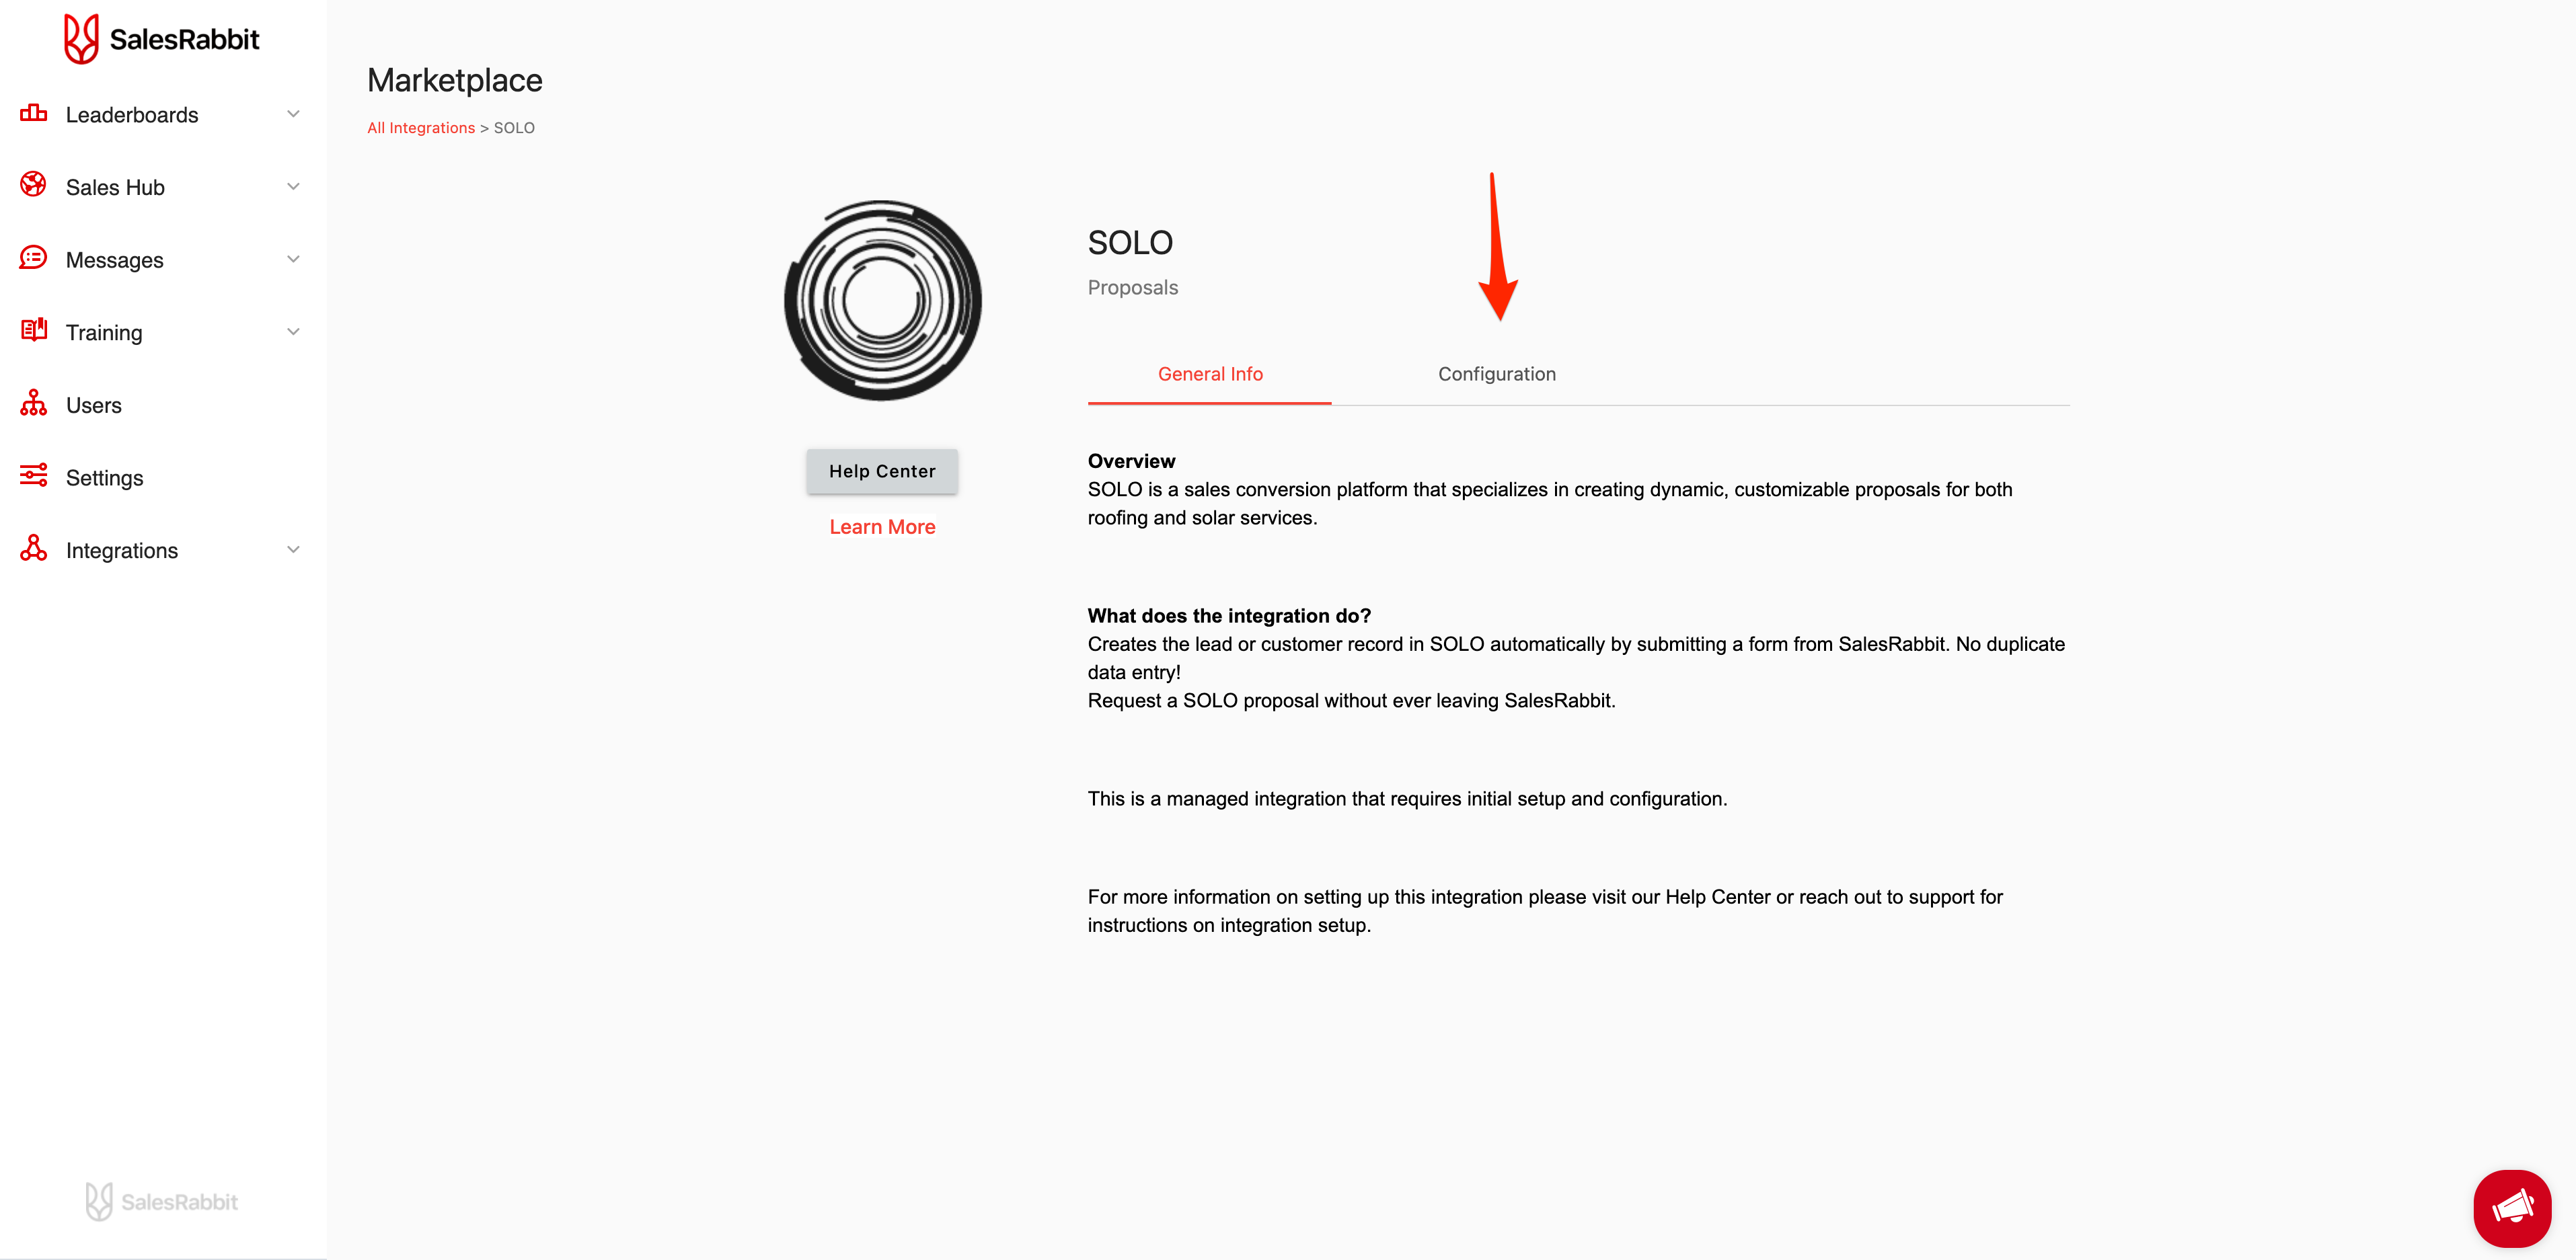
3.) Navigate to the "Configuration" tab and click "Enable"

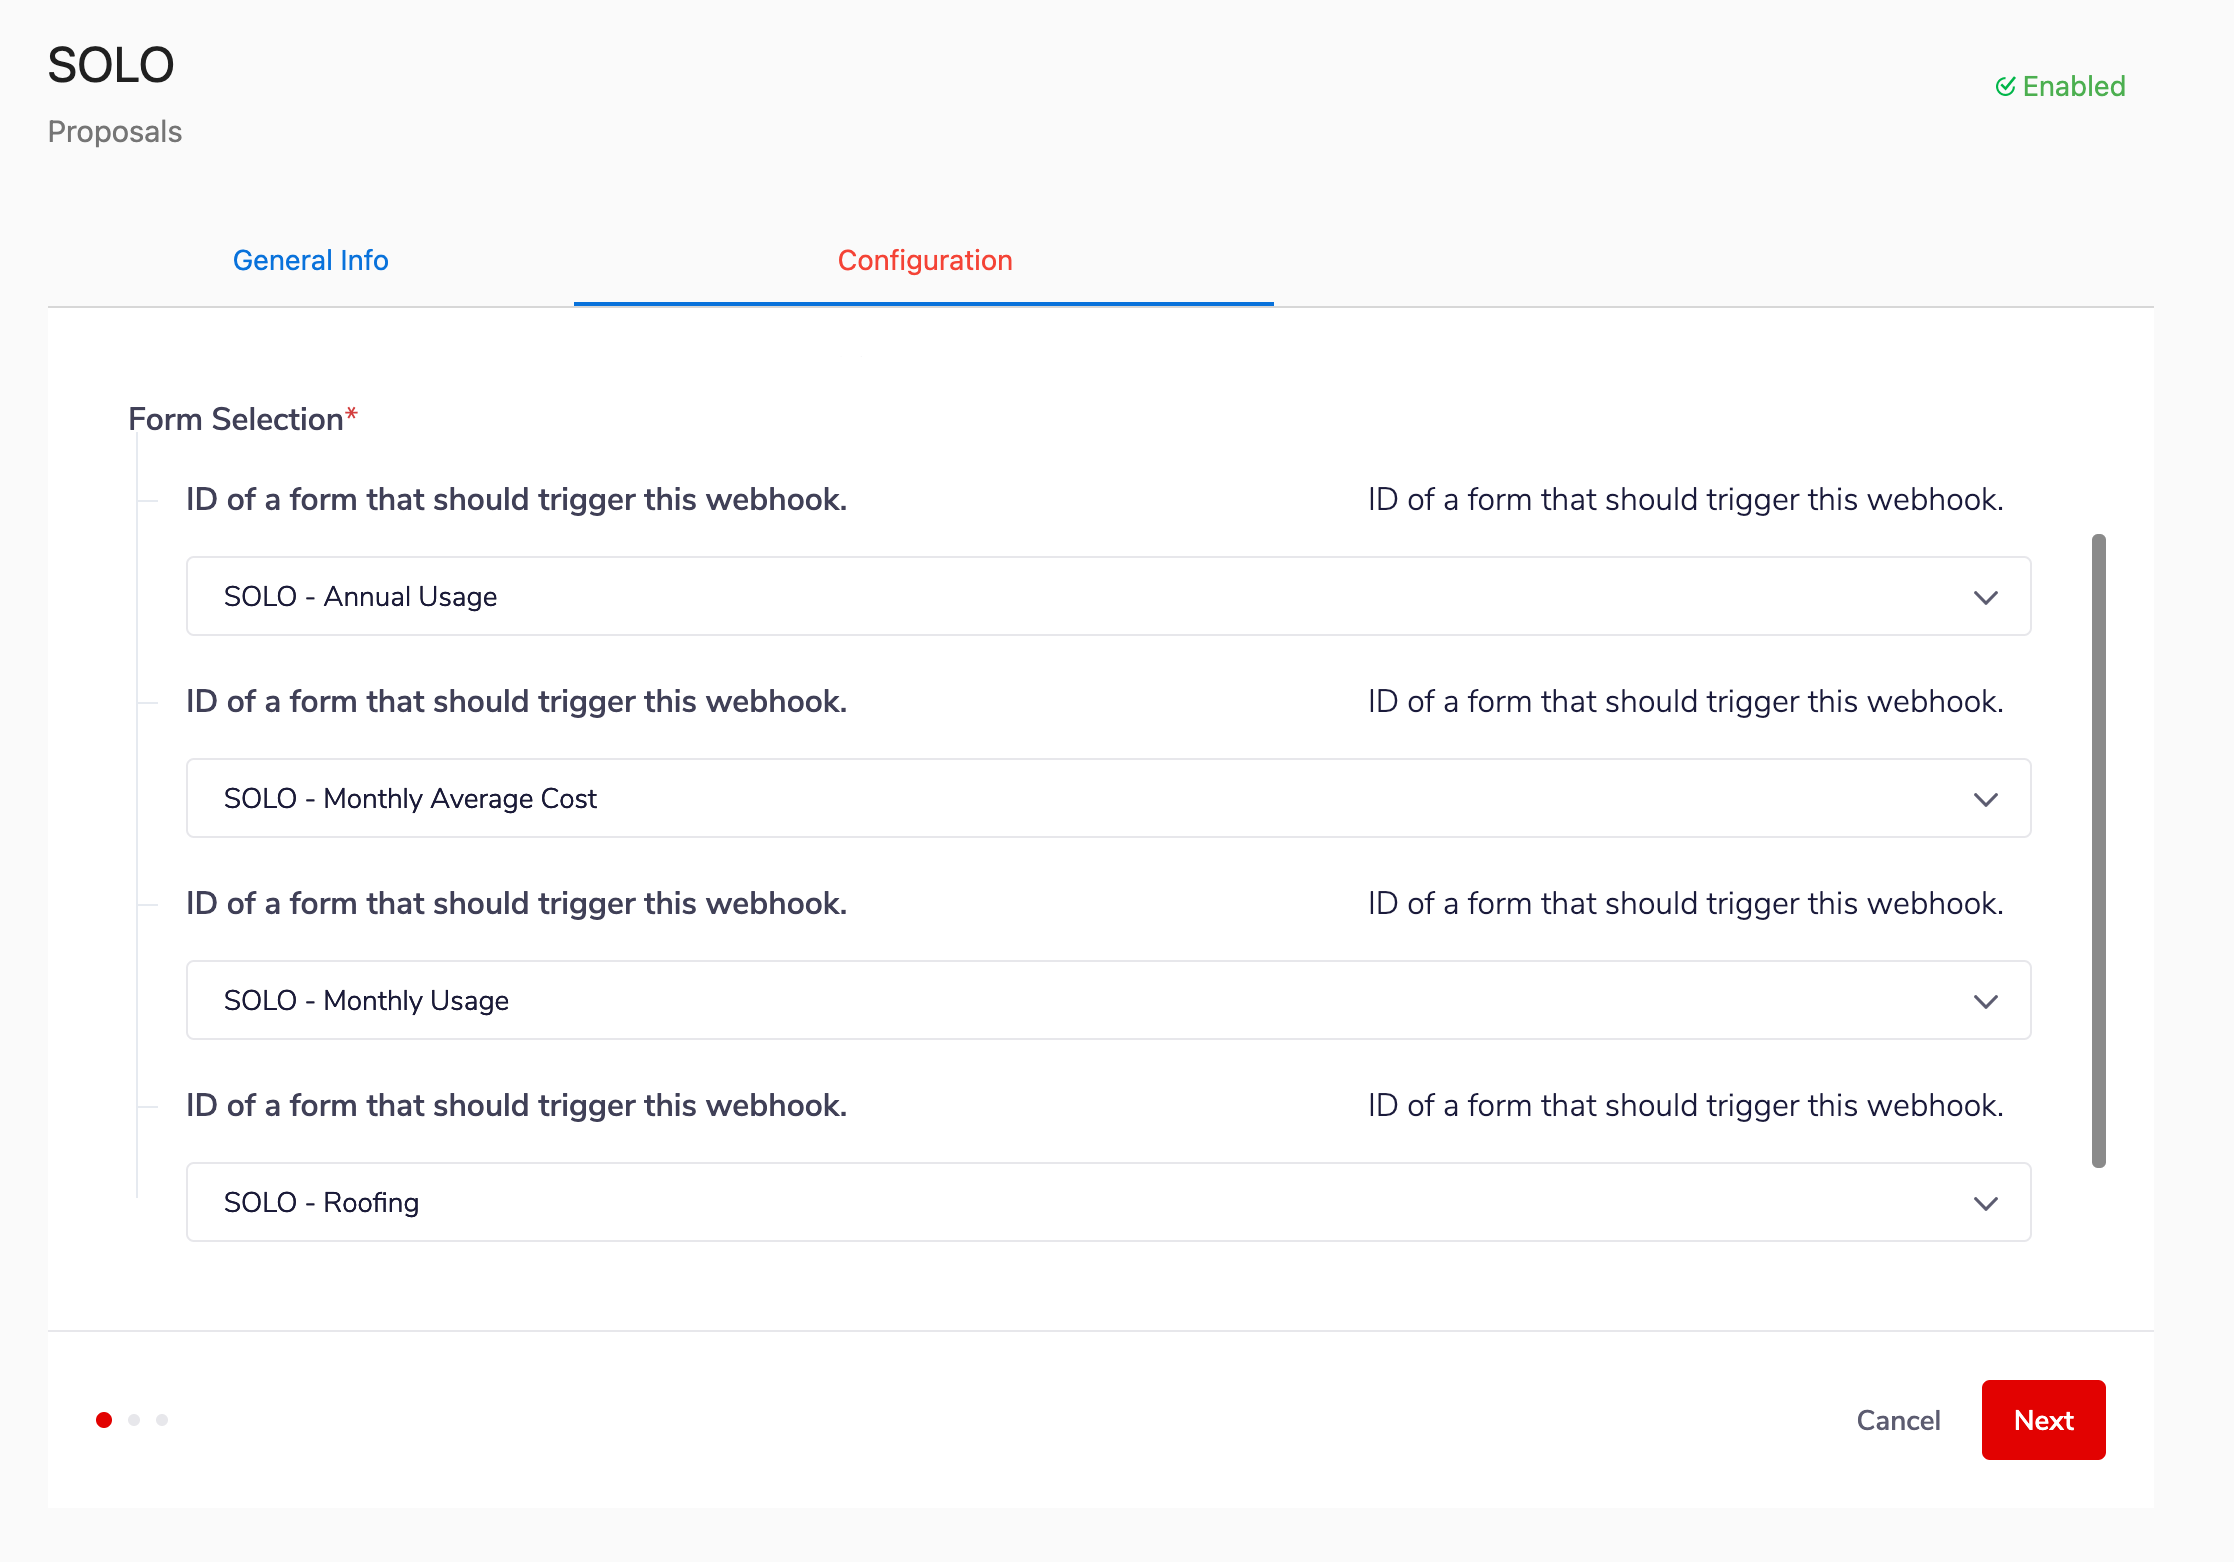
4. Select the published form(s) from the dropdown list and click "Next". (These forms were created in the previous step SOLO | 1. Forms Set Up)
Note: If you decide to use multiple form type submissions i.e Annual Usage, Monthly Usage, or Monthly Average Cost you can add each form (see image). For information on setting form up please see the article here.
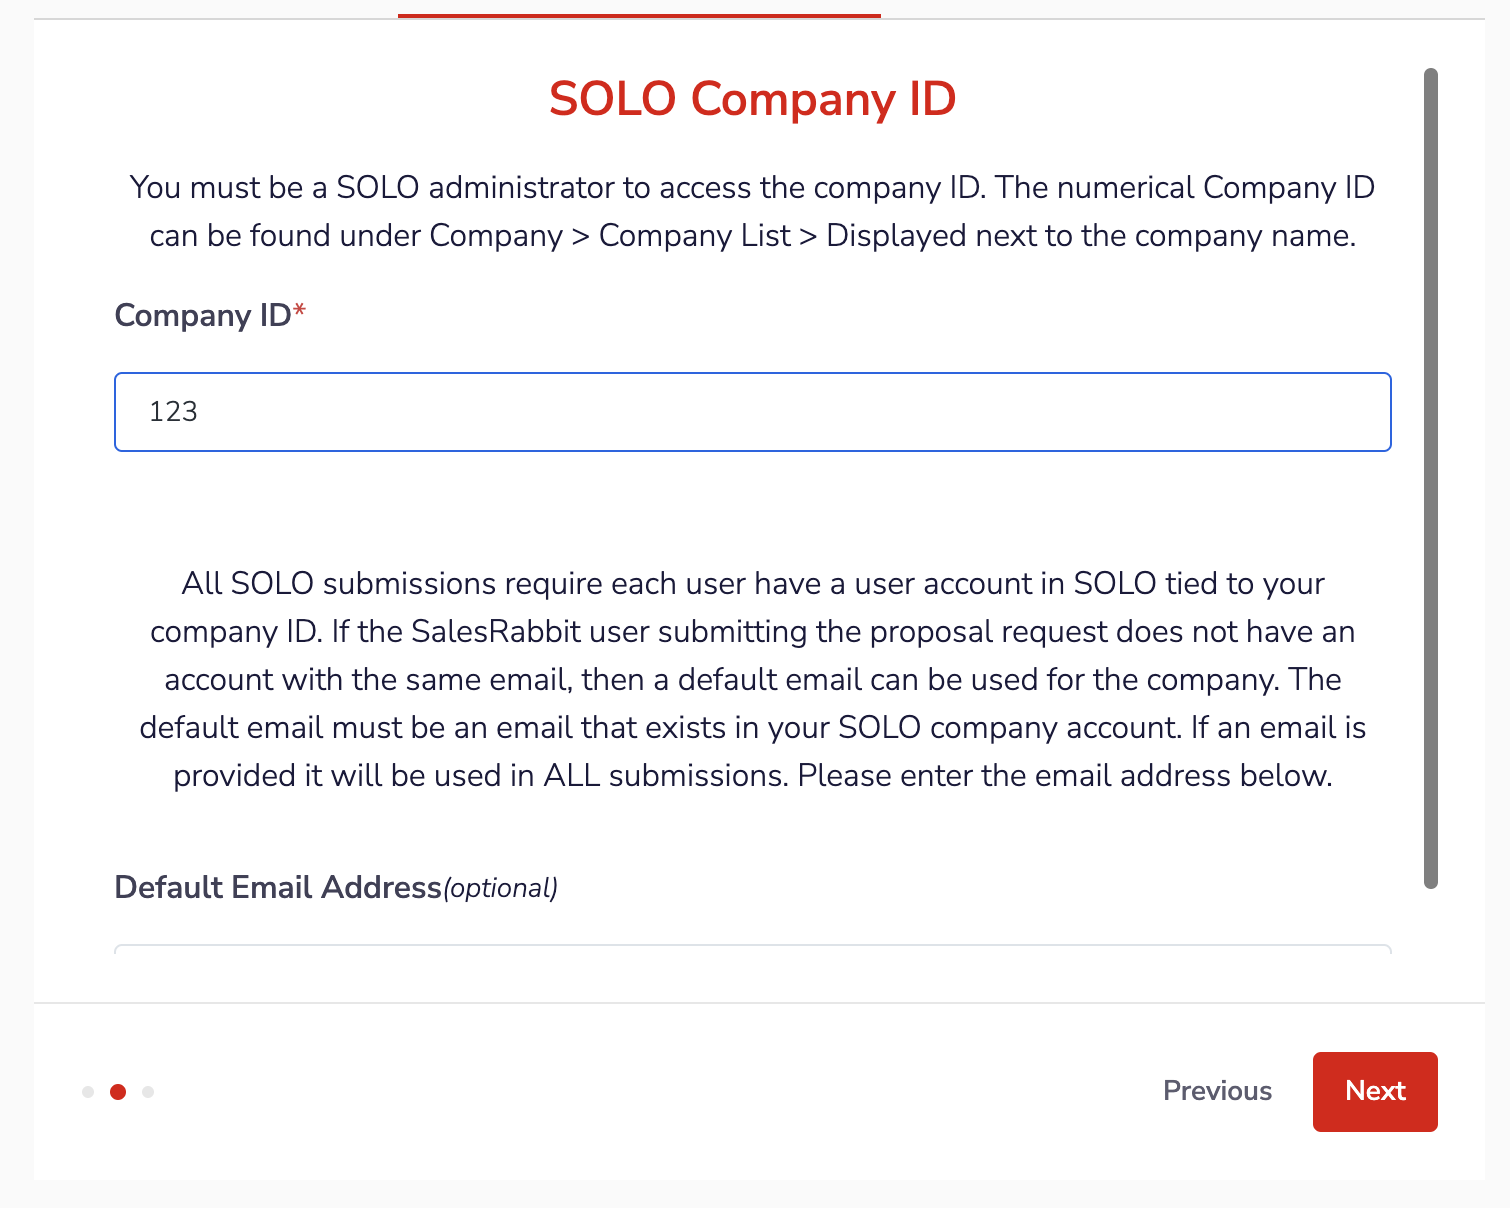
5. Insert your SOLO Company ID Key into the field as specified.
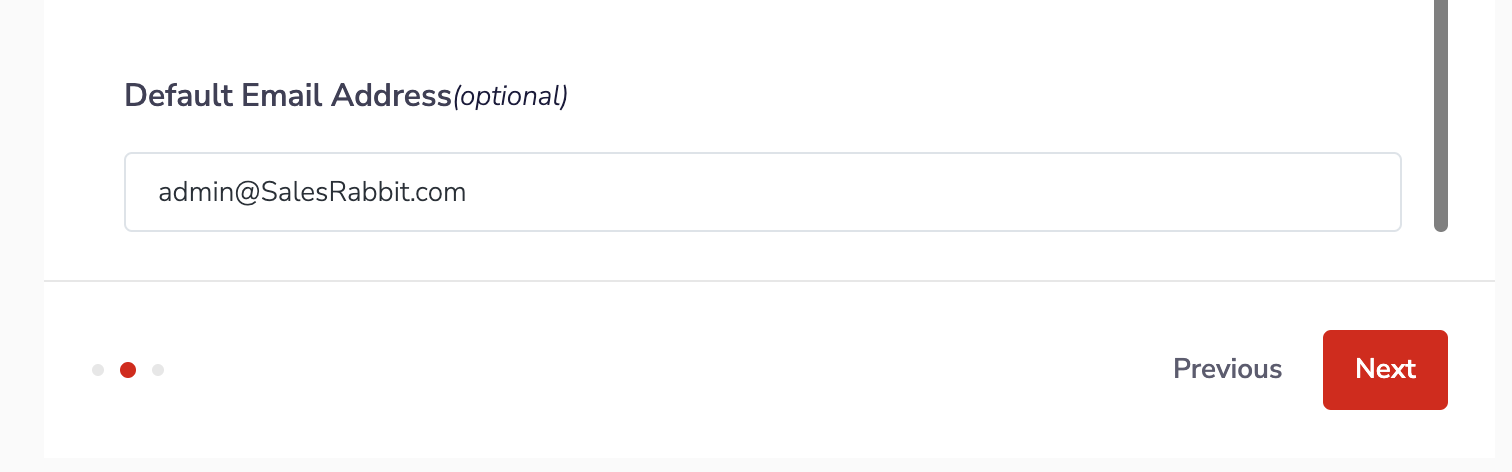
6. Set the Default Email Address (optional)
All SOLO submissions require each user have a user account in SOLO. If the SalesRabbit user submitting the proposal request does not have an account with the same email, then a default email can be used. The default email must be an email that exists in your SOLO account.
NOTE: If an email is provided it will be used in ALL submissions
If you wish to use a Default Email Address, enter the desired default email, then click "next".
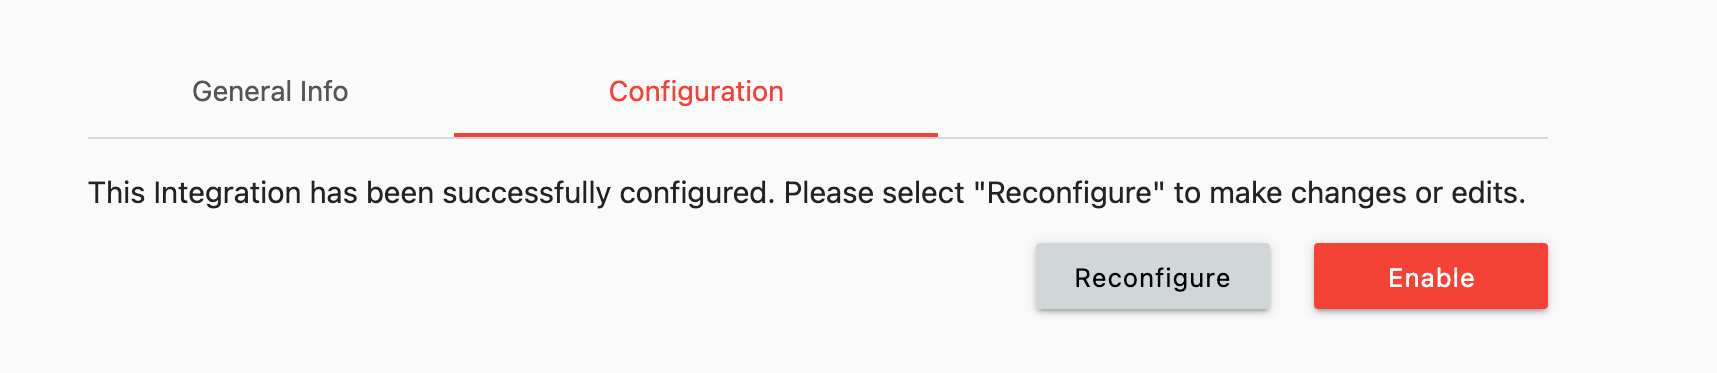
Note: If you wish to disable or reconfigure this integration at any time you can do so by clicking "Disable" or "Reconfigure" respectively. Additionally, if the integration is currently live you should see an "enabled" indicator on the integration.
Your SOLO integration should now be live and allow you to create leads in SOLO through form submission! If you have any issues or problems please reach out to support or your CSM for help configuring this integration.
Next: Configure Proposals to be added to the SalesRabbit Lead...